So I’ve replaced all the hard drives in my desktop. I have 8x SATA ports and 4x SSD drives. Only 4 of the ports are 6 Gb/s on this board so the plan is this
Intel (6 ports, 2x 6 Gb/s, 4x 3Gb/s, AHCI or RAID 0, 1, 10 support)
- 6 Gb/s ports 1 and 2 in Raid 0 with 2x Silicon Power S55 drives – Win 10
- 3 Gb/s ports, 3 and 4 for 1TB SATA 7.2K drives, port 6 for SATA DVD-RW
Marvel (2x 6 Gb/s ports, AHCI support)
- 6 Gb/s ports 1 and 2 with 2x Silicon Power S55 drive – Arch linux using LVM for Raid 0
I decided I wanted to do the Arch install through VirtualBox after my recent experiment using VMware to make a boot USB install. The reasons are pretty much the same so go read that one if your wondering why….
Task 1 – Get VirtualBox to talk to the hard disks directly
I mostly use VMware Workstation, so this one surprised me, in the GUI of VirtualBox at the time of writing this blog, there is no way to directly map a hard disk. So after a bit of googling I found this blog. There you will find out how to make a .vmdk that maps directly to a physical disk. In my case I made 2 vmdk’s. Next you’ll need to start VirtualBox as an administrator so it has rights to use those disks. Create a VM that has the Arch install .ISO in the virtual CD drive, add the 2 disks you created. I also set the machine to emulate a UEFI system and not a BIOS, then start the VM.
Task 2 – Install:
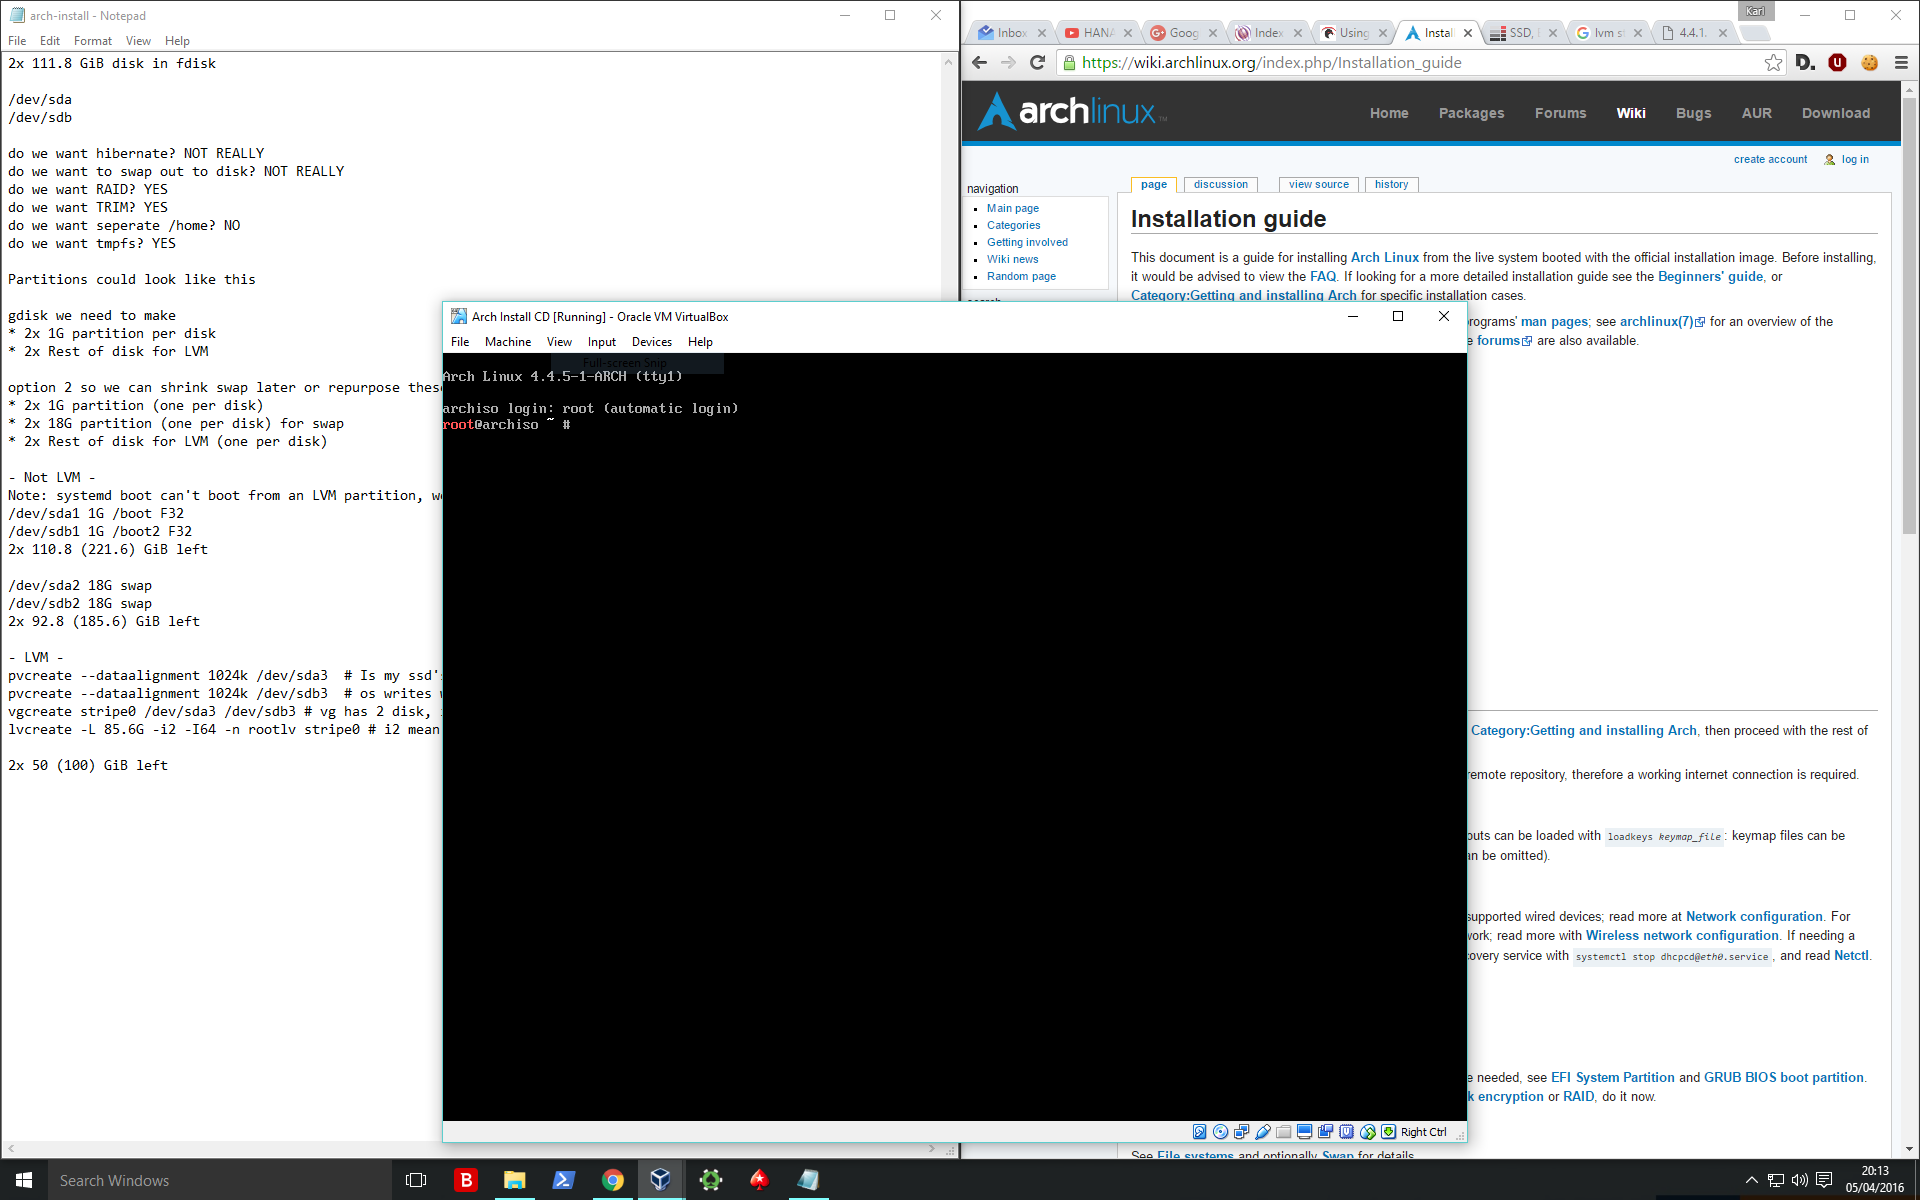
So we are good to get started. As you can see in the background I’ve written out my partition scheme as its a bit complex and I have the Arch Install docs open in case we need to check anything along the way.

This is gdisk listing the 2 drives. I’m formatting the disks as GPT disks (not MBR). I can show you my partition layout as its seen in Windows 10 just by refreshing windows disk manager. This is after writing /dev/sda and before I repeated the steps on /dev/sdb, 1G for boot, 18G for swap on each disk and 92.79GB for LVM.

Then comes formatting of the partitions. As this is a UEFI system our boot partition (and boot.bkp on the other disk) need to be FAT32. I assign sda3 and sdb3 as “physical volumes” so that I can create a volume group on them.

Creating the “Volume Group”, and then finally the “Logical Volume” as a striped disk. What I like about this approach is the volume group has 2 disks, but I can create another partition as a mirror, so if I want to have my home directory on a mirror I can still use the same volume group. With that in mind I’ve left some space for later. The data alignment is supposed to help with SSD rewrite scenarios.

I’m formatting the logical volume with xfs. Its the fastest option for the workload I’m going to put on it, also it supports discard/fstrim which is important in an SSD system.

Now we mount the disks so that we can continue the install.

Install packages through pacstrap

Problem Time:

So on the face of it this worked, but it doesn’t. Essentially its added a UEFI boot entry to the UEFI bios of the Virtual Machine and not the actual hardware we are running on. So later we are going to have boot the USB key, mount the boot partition and run “bootctl install” again to actually add an entry to the physical hardware’s boot menu.

Carry on Regardless:
We have to edit mkinitcpio.conf, we need sd-lvm2 support in our ramdisk to start the raid that the root partition lives on. xfs is not needed its covered by filesystems, I just did that out of habbit 🙂
 I also installed intel-ucode and some other things I’ll want later

Adding the boot entry so that the microcode update runs. Instead of using PARTUUID we use UUID as we don’t have a single partitions UUID we can put here, instead we put the UUID of the LVM logical volume as it will be when the LVM module loads.

Before the final reboot I enabled NetworkManager and FirewallD, then reboot and test the machine boots in VirtualBox (it does).
Finalize the Install:
With that the install is done, depending on your UEFI firmware it may be bootable, mine was not yet, so I booted an arch key, mounted the root and boot partitions, then rant bootctl install again. After this the machine would boot to windows or Linux and I could pick whichever option I preferred from the bios menu (F8 on my machine)
It should be possible while in windows to start up the VM and access your Arch Linux install. If you have samba or FTP running in Arch you then have a nice way to share files between Windows and Linux, enjoy!