
Multipass on Mac
Multipass from Canonical is a tool for quickly deploying VM's (running Ubuntu) on the native Hypervisor, the VM also has a kernel optimized for the Hypervisor. Pros and Cons Rapid…
Multipass from Canonical is a tool for quickly deploying VM's (running Ubuntu) on the native Hypervisor, the VM also has a kernel optimized for the Hypervisor. Pros and Cons Rapid…
I'm moving again, from an Ubuntu 16.04 droplet with a rather complex deployment (in Brexit-land) to Docker containers on a Fedora 28 droplet (in Europe-land). These are some tips I…
Things change Since I last posted, I've left my job of 17 years and started a new adventure with MongoDB. My daily work machine is no longer a Dell Latitude…

Time to put Linux on my XPS 13. Pick a distro, any distro. Historically I'm an Arch Linux user and what is not to like about a rolling distribution with…
It all seemed so straightforward I have a Udacity project to complete in 4 weeks, working in my personal time as part of the FastTrack course. Take a semi-working app,…

New laptop time! My Inspiron 13 (7000 2-in-1) was a nice laptop. It wasn't the lightest but it was light enough. It was a good size. After adding an SSD…

In September I spent more than 2 weeks in Lithuania, it was an adventure, lots of food, people and moving around the country. Kaunas We started by flying into Kaunas…

You need: A machine you can SSH too Putty on your Windows client machine A web browser you can change the proxy settings of Configure your putty session and go…
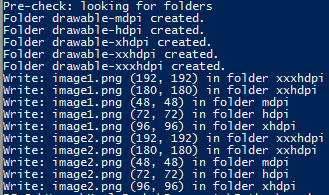
Needing 5 sizes of each image for an android app is annoying, so I did what any sane person would do. I wrote a python script that does all the hard work…
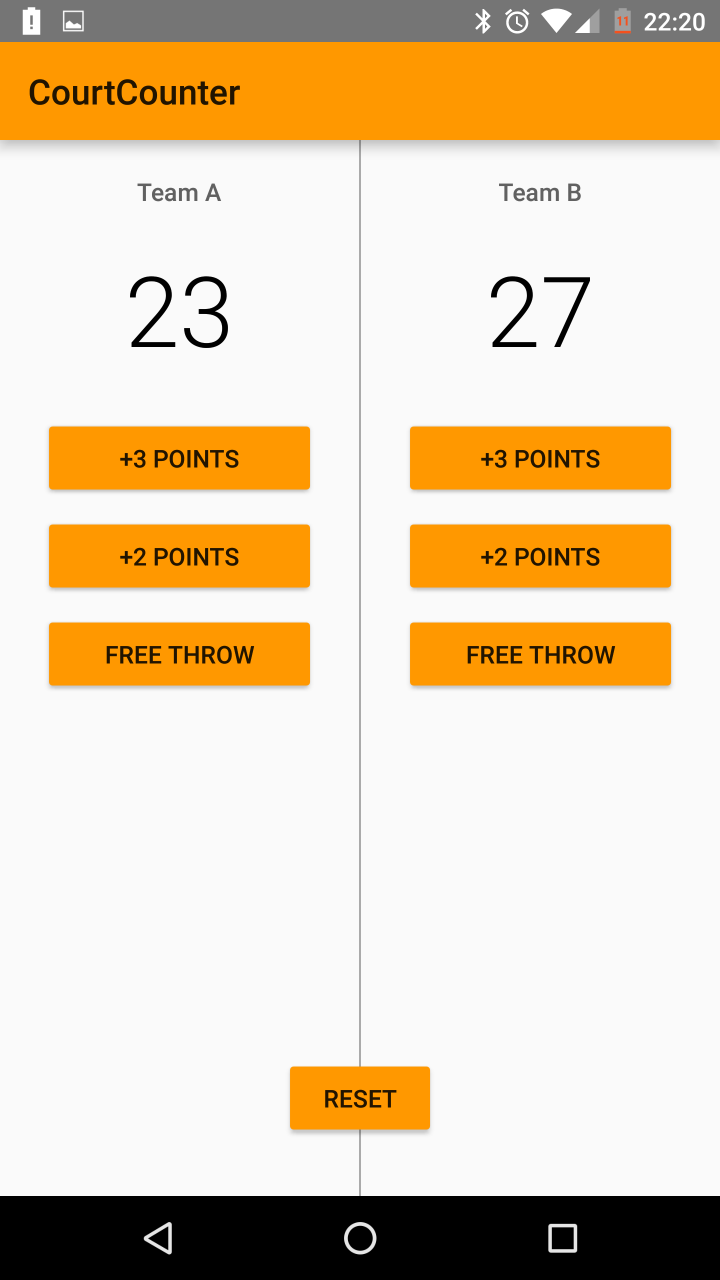
So I'm currently learning all about Android application development. I've made an app before while experimenting but decided to go with the Udacity course so I would not run into…